Wonderland 3.0 is arranged into eleven different categories: General Corrections, B&W Conversions, Color Punches, Color Isolate, Color Modification, Creative Catalyst, Cross Process, Lighten/Darken Vignettes, Portrait Specific, Sepia and Sharpening. Here’s how the categories break down.
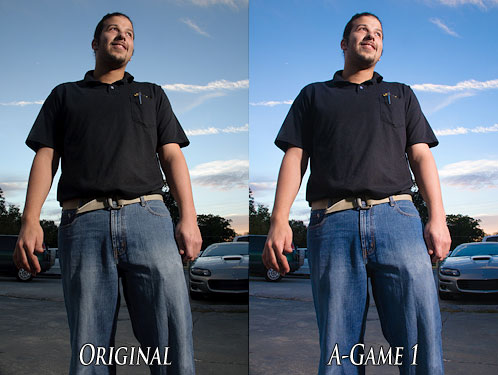
General Corrections
These are mainly designed as a starting-off point. The A-Game settings provide some adjustments in contrast and color, as well as some other minor adjustments. There are some extremely handy one-click white balance adjustments that bring you to Lightroom’s default preset WB settings.
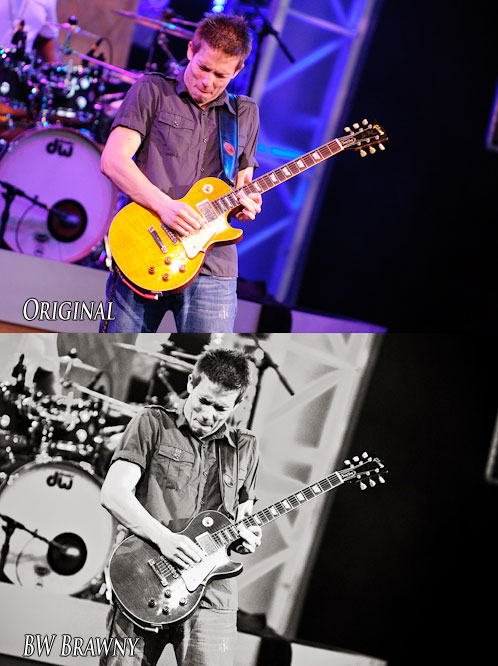
B&W Conversions
Wonderland 3.0 has a lot of very nice presets for B&W. There are light conversions, extremely contrasty conversions and everything in between. A few of them have some subtle split toning to them, which can really add to the photo. There are about 28 total B&W conversions, so there are a lot of choices.
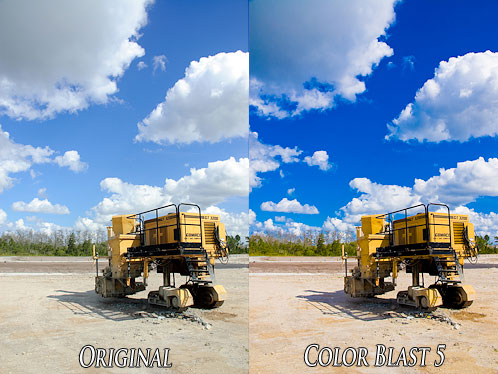
Color Punches
These settings provide very vibrant and saturated colors. The default white balance settings are not ideal for everything, so you’ll definitely want to do some tweaking in that department. You may also want to be careful with people getting orange skin tones, but with some playing you can get vivid results.
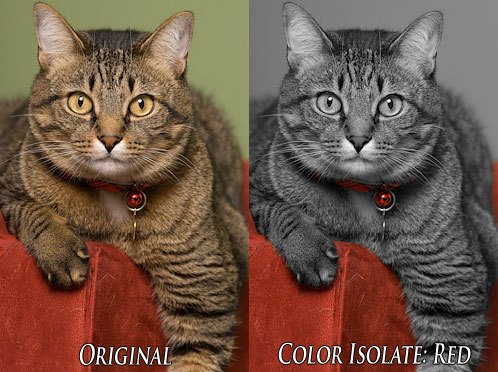
Color Isolate
Color Isolation can be a little difficult in Lightroom, but Wonderland does a fairly good job at it. There are nine different colors to isolate, each with an additional setting to also isolate the skin tone. In complex lighting situations where the skin is not evenly lit, it has some difficulty but is still fairly accurate. You might need to do some playing around in Photoshop for the finishing touches, but this does a lot of the groundwork for you.
Color Modification
These are cooling/warming presets, which are pretty self explanatory. The warming one uses toning while the cooling uses the WB adjustment sliders. Since there is only one option for warming and one for cooling, I didn’t find these to be useful. I still prefer using the WB sliders to make warming/cooling adjustments since those decisions generally depend on your lighting situation.
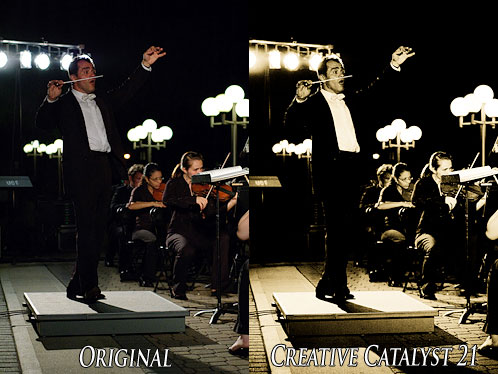
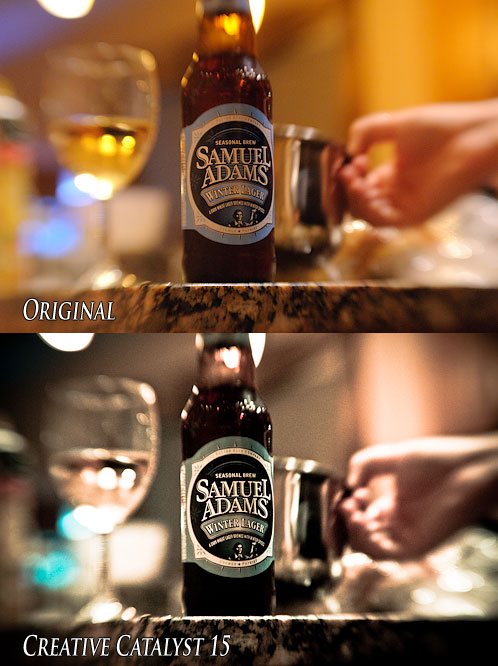
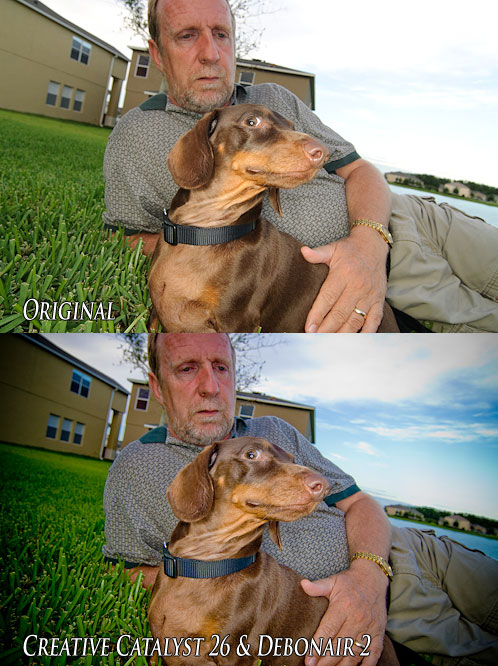
Creative Catalyst
The Creative Catalyst presets are the “heart and soul” of the Wonderland Presets. With a total of about 60 presets, the Creative Catalysts offer a wide range of effects to choose from. There are some absolutely killer split tone B&W conversions, as well as many different color effects. You may have to make some minor tweaks depending on your image, but there are a lot of awesome effects to choose from here.
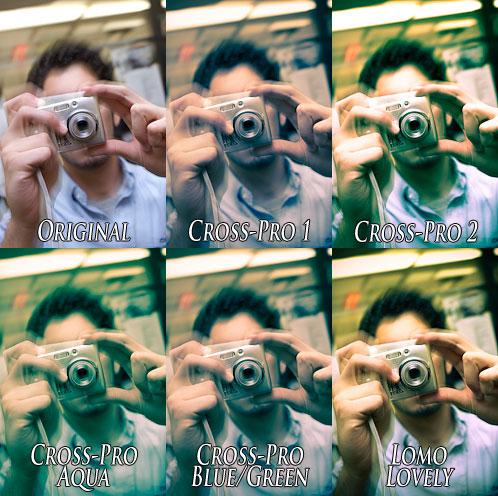
Cross Process
As the name implies, these presets provide a cross-processed look to your images. You get the effect both ways (C-41 to E-6 and vice versa) as well as a lomography preset. This is a very popular look, and Wonderland does a great job of executing it.
Lighten/Darken Vignettes and Contrast
The lighten/darken portions of the Wonderland Presets give you a one-click solution to adding vignetting to the image. There are three lightening and four darkening presets, and between them, you can get extremely close to the effect you want. The contrast controls are nice, but I found them to be more useful in combination with other presets rather than on their own.
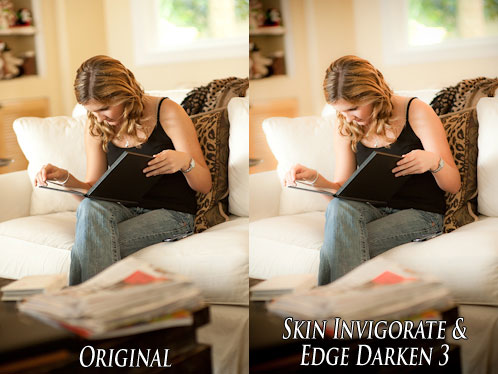
Portrait Specific
The Portrait presets have a couple of options for softening skin tones, and they work very well. Some of them give a soft and dreamy quality to the pictures. There are also a series of presets called portrait spotlight, which mutes the color except for a small amount of saturation (mostly in the skin). I wasn’t as keen on these presets as they made the subject look a little sickly.
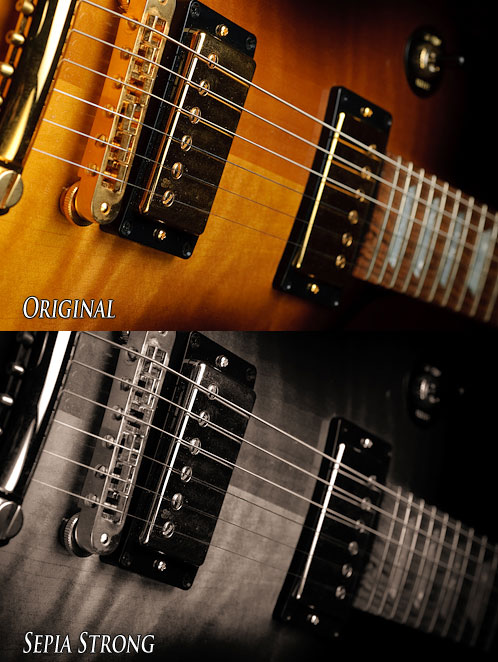
Sepia
Just like the B&W and other monotone presets, the sepia settings from Wonderland 3.0 are excellent. There are only about 8 compared to the 28 B&W presets, but you get a nice range of subtle to full-blown sepia toning.
Sharpening
Rounding out the presets are sharpening presets for portraits and landscapes. Personally, I’ve never been a fan of Lightroom’s sharpening and have always preferred sharpening in Photoshop based on where the image is going to be output. If you do plan to use the Sharpening presets, you might want to modify it; by applying it, all the sliders are reset to their default settings. This might have just been a slight oversight since sharpening is typically the last stage in post-processing.
Conclusion
Wonderland Presets 3.0 offers a lot of worthwhile post-processing options. There is a solid collection to choose from for a decent range of applications. As with any preset, you might have to make some slight modifications to make them work for your image, but for the most part they get you where you need to be. The Wonderland Presets allow you to make very creative modifications to your pictures with just a few clicks.
Wonderland Presets 3.0 is available directly from the Wonderland website for $39.99. At the website, you can also download 14 free samples, or look at more examples.